
Understanding Bath Reconstruction Essentials
What is Bath Reconstruction?
Bath reconstruction is a comprehensive renovation process aimed at updating or completely transforming a bathroom to enhance its functionality and aesthetics. This can range from simple cosmetic upgrades, such as repainting or replacing fixtures, to extensive alterations, including structural changes and the installation of new plumbing systems. The ultimate goal of a bath reconstruction project is to create a space that effectively meets the needs of its users while reflecting modern design trends.
Common Reasons for Bath Reconstruction
There are several key motivations behind bath reconstruction projects. Homeowners may seek to:
- Upgrade Outdated Features: Bathrooms can quickly become outdated. Reconstruction allows for a modern look with contemporary materials and technology.
- Improve Functionality: Many older bathrooms are not designed for everyday convenience, prompting changes to layout and fixtures to better suit current needs.
- Increase Home Value: A beautifully renovated bathroom can significantly boost a property’s market appeal and value, making it a worthwhile investment for homeowners.
- Address Structural Issues: Over time, water damage, mold, or other issues can compromise the integrity of a bathroom. Reconstruction allows homeowners to address these problems effectively.
- Accommodate Lifestyle Changes: Families grow, and needs change. A bath reconstruction can cater to new life stages, such as adding child-friendly features or making a space accessible for the elderly.
Key Considerations Before Starting a Project
Before embarking on a bath reconstruction project, it is crucial to evaluate several factors:
- Project Scope: Clearly define what you wish to achieve. Are you aiming for a complete overhaul or specific upgrades?
- Budget: Establish a realistic budget that encompasses materials, labor, and unexpected costs.
- Timeline: Determine how long the project may take and whether it coincides with your personal schedule.
- Building Regulations: Familiarize yourself with local building codes that may affect your design and renovation process.
- Style Preferences: Think about the aesthetic you desire and how it will fit with the rest of your home.
Planning Your Bath Reconstruction Project
Setting a Realistic Budget for Your Renovation
Creating a budget for bath reconstruction involves more than simply deciding how much you’re willing to spend. It requires a detailed analysis of all potential costs. Here’s a breakdown:
- Labor Costs: Skilled labor is often the most significant percentage of your total budget. Rates may vary based on the complexity of the tasks.
- Materials: Consider the costs of tiles, fixtures, vanities, plumbing supplies, and more. Selecting high-quality materials may save you money in the long run.
- Contingency Fund: Set aside about 10-20% of your budget for unexpected expenses that may arise during the project.
- Permits and Inspections: Factor in any costs associated with permits required by local regulations.
Essential Tools and Materials Needed
Having the right tools and materials is vital to the success of your bath reconstruction project. Key essentials include:
- Tools: Common tools include a tape measure, level, tile cutter, drill, saw, and various hand tools for adjustments.
- Materials: Durable and water-resistant materials such as ceramic tiles, paint, vanities, and eco-friendly fixtures should be prioritized.
Hiring Professionals vs. DIY Approaches
Deciding between DIY and hiring professionals is a significant consideration in bath reconstruction.
DIY: Taking on the project yourself can save money and provide a sense of accomplishment. However, certain tasks, particularly plumbing and electrical work, require professional expertise.
Hiring Professionals: Contractors bring experience, efficiency, and access to high-quality materials and tools. However, it can significantly increase project costs. Consider getting multiple estimates and checking references.
Design Ideas for Bath Reconstruction
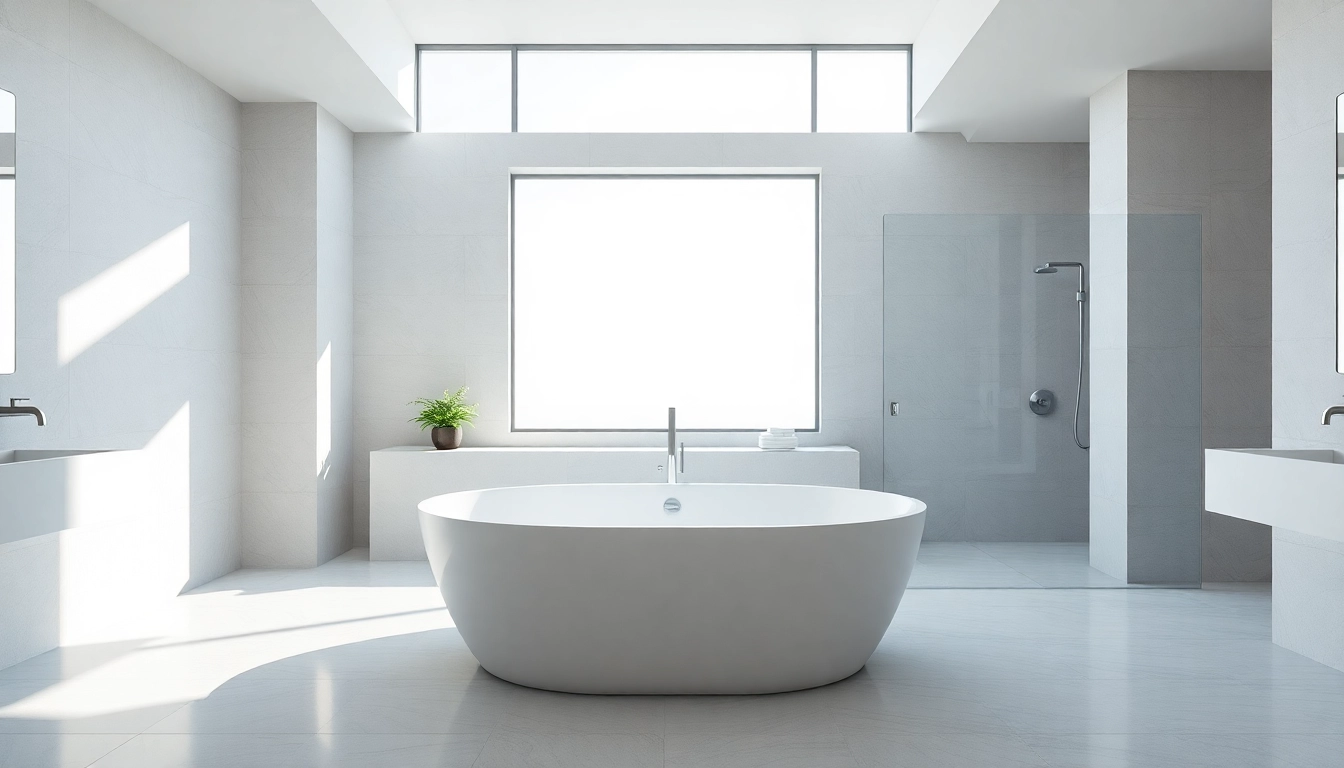
Contemporary Styles to Consider
When it comes to designing your new space, a few contemporary styles can elevate the functionality and look of your bathroom:
- Minimalist: Focuses on sleek lines and understated elegance, using neutral colors and simple fixtures.
- Industrial: Emphasizes raw materials like metal and concrete, paired with modern amenities for a unique aesthetic.
- Scandinavian: Bright, airy spaces characterized by light woods, functional designs, and pastel colors.
Maximizing Space in Smaller Bathrooms
Utilizing every square inch in a compact bathroom is crucial. Techniques include:
- Wall-mounted Fixtures: Save floor space and create an illusion of openness with wall-mounted sinks and toilets.
- Smart Storage Solutions: Incorporate built-in shelves, medicine cabinets, and under-sink storage to keep clutter at bay.
- Light Colors: Use light color palettes to make the room appear larger and brighter. Mirrors can also create an illusion of space.
Integrating Eco-friendly Products
Incorporating eco-friendly products not only benefits the environment but can also reduce utility bills. Consider:
- Low-flow Fixtures: Install faucets and showerheads that reduce water usage while maintaining pressure.
- Energy-efficient Lighting: Use LED lighting for energy savings and a longer lifespan.
- Recycled Materials: Use tiles and fixtures made from recycled materials to minimize environmental impact.
Implementation Steps for Successful Bath Reconstruction
Demolition and Preparation Guidelines
The demolition phase sets the stage for the entire project. Key steps include:
- Ensure you have the appropriate permits.
- Shut off all utilities connected to the bathroom, such as water and electricity.
- Carefully remove old fixtures, tiles, and cabinetry with a focus on minimizing damage to surrounding areas.
- Prep the room by cleaning it and assessing the state of the plumbing and electrical systems.
Installing Fixtures and Finishes
With the old layout cleared, it’s time to install new fixtures:
- Start with larger fixtures like the bathtub, shower, and toilet before moving on to sinks and cabinetry.
- Ensure each component is plumbed properly and tested for leaks.
- Finish with tiling, painting, and the installation of accessories like mirrors and towel racks for a complete look.
Final Touches for a Polished Look
Once installation is complete, add the final details that make the difference:
- Accessorize with decorative items that reflect your style.
- Ensure all elements work harmoniously together for a cohesive aesthetic.
- Perform a thorough clean-up to ensure that the new bathroom is inviting and ready for use.
Maintenance Tips Post-Bath Reconstruction
Cleaning and Care for Longevity
Maintaining your new bathroom requires regular cleaning and care:
- Use non-abrasive cleaners to avoid damaging surfaces.
- Regularly check caulking and grout for cracks and replace as needed to prevent water damage.
- Ensure fixtures are clean and free of mineral build-up by using vinegar or specialized cleaners.
Troubleshooting Common Issues
After reconstruction, certain problems may arise. Common issues include:
- Leaks: Identify and fix leaks from pipes or fixtures immediately to prevent damage.
- Mold Growth: Ventilate the bathroom properly and use mold-resistant materials to combat this issue.
- Water Pressure Problems: Address any drops in water pressure with a plumbing inspection.
Seasonal Maintenance Checklist
In addition to regular upkeep, seasonal checks can sustain your bathroom’s condition:
- Inspect plumbing for any issues, especially before winter when water can freeze.
- Clear drains to prevent backups, particularly in autumn when leaves and debris gather.
- Check for signs of wear on caulk and grout and reapply as necessary.
FAQ:
- What is the average cost of bath reconstruction? The cost typically ranges based on the complexity of the project, materials used, and labor costs.
- How long does a bath reconstruction project usually take? Projects can vary significantly, but most take between a few days to a couple of weeks to complete.
- Can I undertake bath reconstruction as a DIY project? While some tasks are feasible for DIY enthusiasts, professional help is recommended for plumbing and electrical work.
- What are popular materials for bath reconstruction? Common choices include ceramic tiles, natural stone, and water-resistant materials that offer durability and style.
- How do I choose the right contractor for bath reconstruction? Seek recommendations, check reviews, and ensure they have experience specifically with bath renovations.
For more detailed information on how to undertake a successful bath reconstruction, continue exploring resources that provide professional insights and guidance tailored to your renovation journey.