Moderne duschkabine 80x80 in einem eleganten Badezimmer mit glatten Oberflächen.

Die Vorteile einer duschkabine 80×80 für Ihr Badezimmer

Einführung in die duschkabine 80×80

Was ist eine duschkabine 80×80?

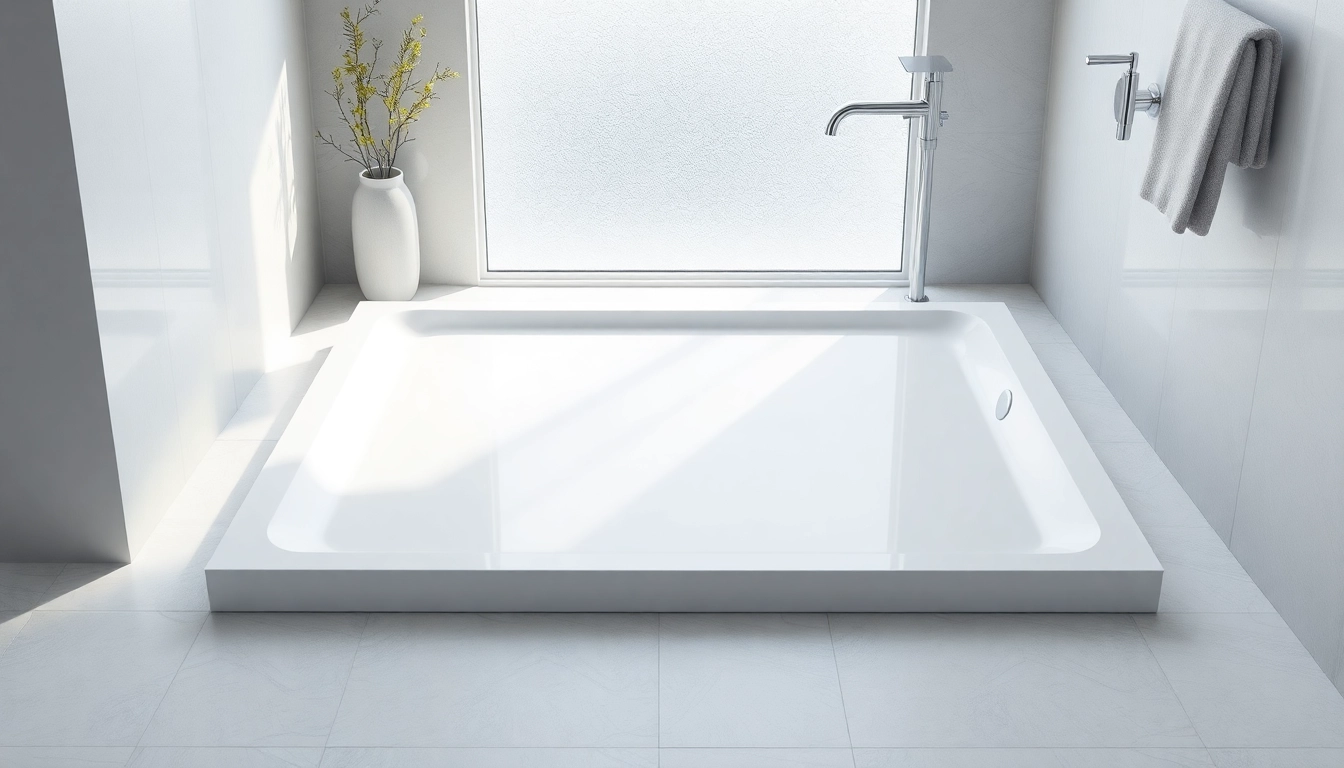
Die duschkabine 80×80 ist eine häufig gewählte Option für moderne Badezimmer, die eine perfekte Balance zwischen Funktionalität und Raumangebot bietet. Sie hat eine Grundfläche von 80 cm x 80 cm, was sie ideal für kleine bis mittelgroße Badezimmer macht. In dieser Größe findet man sowohl quadratische als auch rechteckige Formen, die durch verschiedene Materialien und Designs ergänzt werden können. Eine duschkabine 80×80 ermöglicht es, den Duschbereich vom Rest des Badezimmers abzugrenzen und sorgt gleichzeitig für eine flexible Raumnutzung.

Vorteile der Verwendung einer duschkabine 80×80

Die duschkabine 80×80 bietet zahlreiche Vorteile, die sie zu einer beliebten Wahl machen. Erstens ist sie platzsparend und bietet dennoch ausreichend Bewegungsfreiheit beim Duschen. Dies ist besonders vorteilhaft in kleinen Bädern, wo jeder Quadratmeter zählt. Zweitens sorgt die Abtrennung der Duschzone für weniger Spritzer und damit für eine einfachere Reinigung des Badezimmers. Darüber hinaus kann eine duschkabine 80×80 gemütlicher und ästhetischer gestaltet werden als eine traditionelle Badewanne. Dies kann durch die Auswahl moderner Materialien und ansprechender Designs geschehen.

Material- und Designoptionen

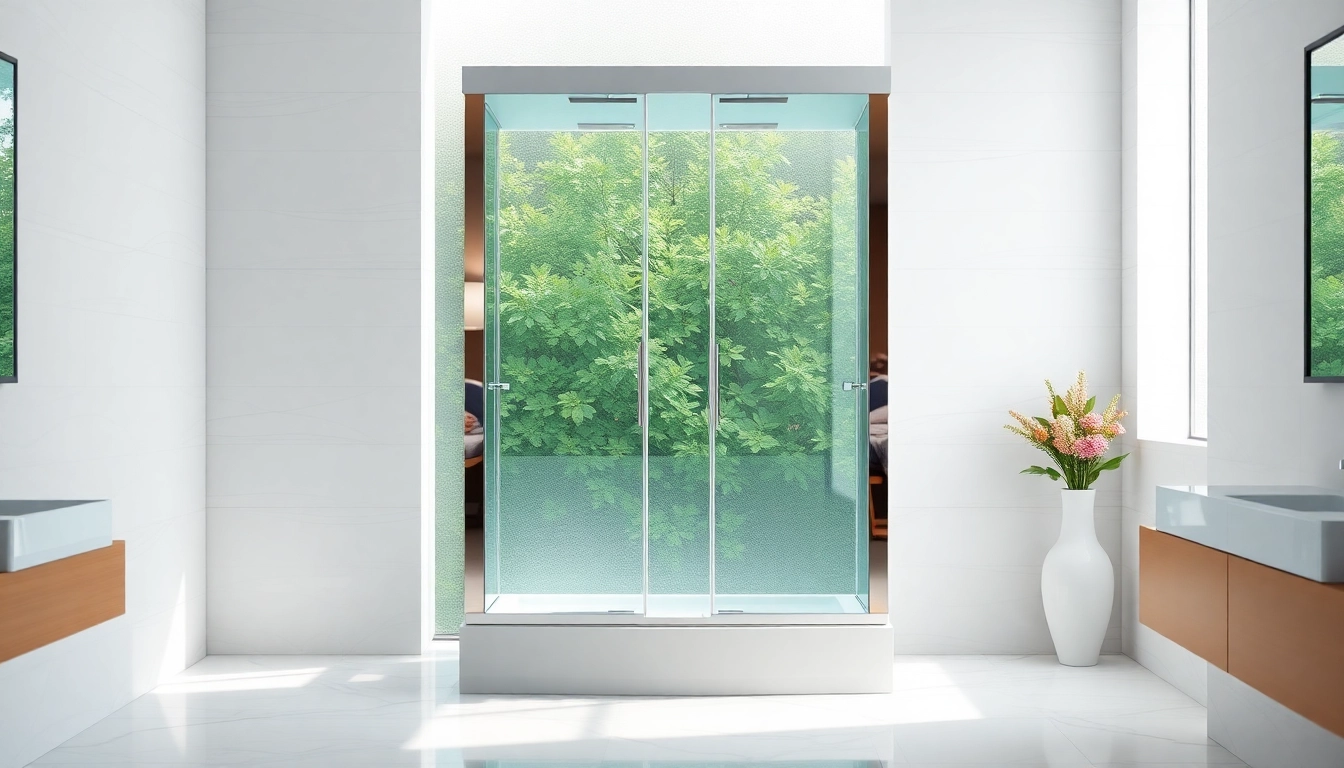
Beim Kauf einer duschkabine 80×80 stehen zahlreiche Materialien und Designs zur Verfügung. Die bekanntesten Materialien sind Sicherheitsglas, Acryl und Keramik. Sicherheitsglas wird oft verwendet, um eine zeitgemäße und elegante Optik zu bieten, während Acryl ein leicht zu reinigendes und preiswertes Material ist. Keramikfliesen dagegen ermöglichen eine individuelle Gestaltung des Duschbereichs. Was das Design betrifft, kann die duschkabine 80×80 beispielsweise mit rahmenlosem Glas, gefliesten Wänden oder leuchtenden Farben gestaltet werden, um ein modernes Badezimmerambiente zu schaffen.

Planung und Installation der duschkabine 80×80

Richtige Messungen vor der Installation

Bevor mit der Installation der duschkabine 80×80 begonnen werden kann, sind präzise Messungen erforderlich. Es ist wichtig, den verfügbaren Platz genau zu vermessen, um sicherzustellen, dass die Duschkabine problemlos zu installieren ist und genügend Freiraum für das Öffnen der Türen oder Schiebeelemente vorhanden ist. Auch die Höhe der Duschkabine sollte berücksichtigt werden, insbesondere wenn in der Nähe Schränke oder Regale angebracht sind.

Vorbereitung des Badezimmers

Die Vorbereitung des Badezimmers ist ein wesentlicher Schritt, der nicht vernachlässigt werden sollte. Bevor die duschkabine 80×80 installiert wird, stellen Sie sicher, dass der Boden eben und sauber ist. Eventuelle Fliesen sollten vorab entfernt werden, falls die Duschkabine direkt auf dem Boden installiert wird. Zusätzlich ist es ratsam, alle notwendigen Rohrleitungen, Wasseranschlüsse und Abflüsse vor der Installation zu planen, um späteren Problemen vorzubeugen.

Schritt-für-Schritt-Anleitung zur Installation

Die Installation einer duschkabine 80×80 kann in mehreren klaren Schritten durchgeführt werden:

  1. Beginnen Sie mit der Markierung der Platzierung der Duschkabine auf dem Boden.
  2. Verlegen Sie die Wasser- und Abflussleitungen gemäß den vorherigen Messungen.
  3. Montieren Sie eventuelle Wände oder Halterungen entsprechend den Herstelleranweisungen.
  4. Setzen Sie die Duschkabine an die vorgesehene Stelle und stellen Sie sicher, dass sie fest und sicher steht.
  5. Überprüfen Sie alle Anschlüsse auf Dichtheit, bevor Sie die Fläche mit Dichtmittel versiegeln.

Pflege und Wartung der duschkabine 80×80

Regelmäßige Reinigungstipps

Um die Lebensdauer Ihrer duschkabine 80×80 zu verlängern, ist regelmäßige Reinigung unerlässlich. Verwenden Sie milde Reinigungsmittel und weiche Schwämme, um Kratzer auf den Oberflächen zu vermeiden. Achten Sie darauf, die Duschwände und -böden nach jeder Benutzung abzuwischen, um Seifenreste und Kalkablagerungen zu minimieren. Einmal wöchentlich sollte eine gründliche Reinigung mit einem geeigneten Reinigungsmittel erfolgen, um hartnäckige Ablagerungen zu entfernen.

Vermeidung von Schäden und Schimmelbildung

Schimmelbildung ist ein häufiges Problem in Duschbereichen, insbesondere nicht ausreichend belüfteten. Um dies zu verhindern, sollten Sie darauf achten, dass die düsenbedeckte duschkabine 80×80 gründlich getrocknet und gut belüftet wird. Auch die Verwendung von Antischimmel-Mitteln kann helfen, die Ansammlung von Feuchtigkeit zu reduzieren. Zögern Sie nicht, die Fugen regelmäßig auf Risse oder Schäden zu überprüfen, die ebenfalls zu Schimmelproblemen führen können.

Wie man die Lebensdauer verlängert

Um die Lebensdauer Ihrer duschkabine 80×80 zu verlängern, investiert in hochwertige, langlebige Materialien. Regelmäßige Pflege und Wartung sind ebenso entscheidend. Halten Sie auch die Dichtungen und Scharniere der Türen in gutem Zustand, da defekte Teile nur zu größeren Problemen führen können. Ein rechtzeitiger Austausch von beschädigten Komponenten kann kostspielige Reparaturen in der Zukunft verhindern.

Designideen für die duschkabine 80×80

Minimalistisch bis luxuriös

Die Gestaltung einer duschkabine 80×80 kann von minimalistisch bis luxuriös reichen. Für einen minimalistischen Look eignen sich klarglasige Türen und schlichte Fliesen, während luxuriöse Designs durch Marmorverkleidungen, goldene Armaturen und elegantes Zubehör akzentuiert werden können. Denken Sie daran, dass die Auswahl von Farben und Materialien das gesamte Badezimmerambiente beeinflussen kann.

Kombination mit Badezimmeraccessoires

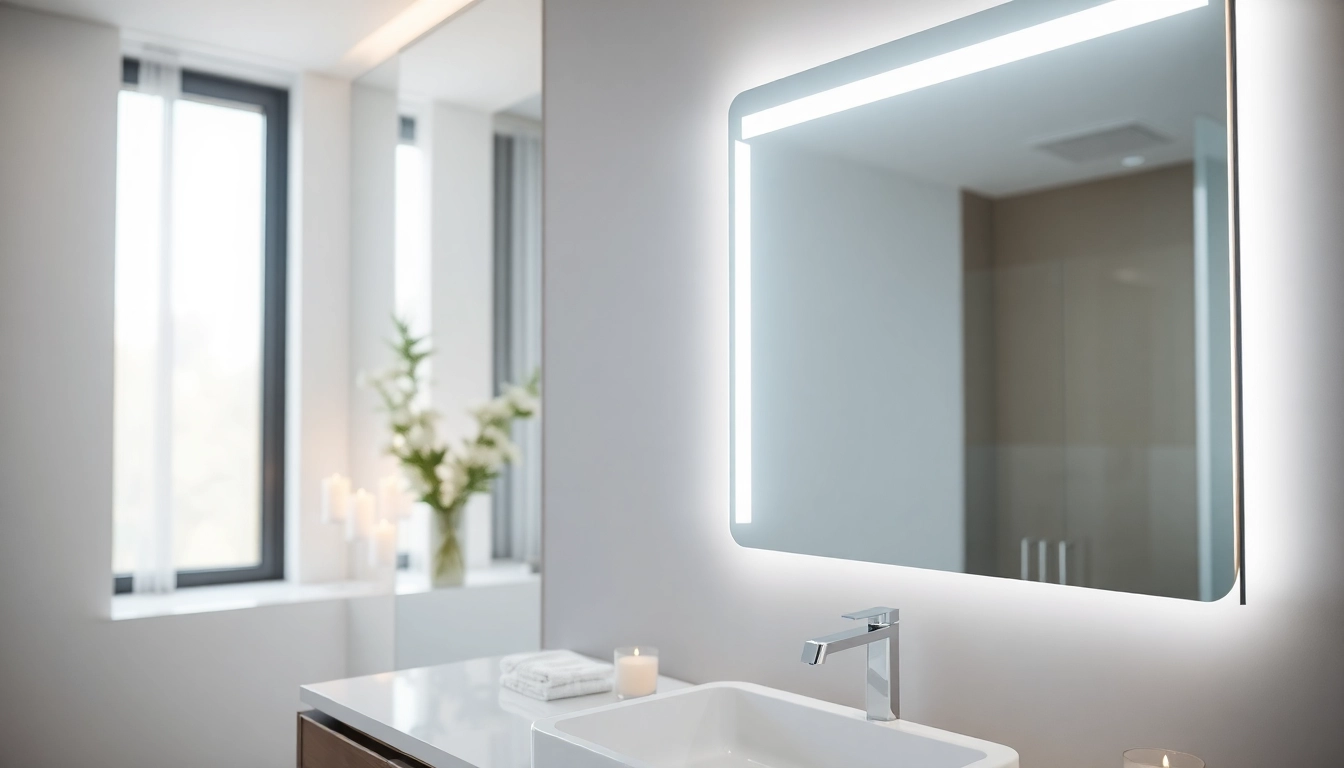
Die Kombination der duschkabine 80×80 mit passenden Badezimmeraccessoires kann den Gesamteindruck erheblich verbessern. Handtuchhalter, Duschvorhänge, und dekorative Fliesen können harmonisch aufeinander abgestimmt werden. Überlegen Sie, wie künstlerische Elemente, wie Wandbilder oder Pflanzen, das Design ergänzen können.

Farbschemata und Wandbeläge

Die Auswahl der Farbpalette für Ihre duschkabine 80×80 kann die Stimmung Ihres Badezimmers stark beeinflussen. Helle, neutrale Farben wie Weiß oder Beige sorgen für eine offene, luftige Atmosphäre, während kräftige Farben wie Blau oder Grün dem Raum eine entspannende Note verleihen können. Wandbeläge aus Glas oder speziellen Wandfliesen können gleichfalls zur ästhetischen Aufwertung beitragen.

Häufige Fragen zur duschkabine 80×80

Wie viel Platz benötige ich für eine duschkabine 80×80?

Für eine duschkabine 80×80 benötigen Sie mindestens 1.5 bis 2 Quadratmeter Platz, um ausreichend Bewegungsfreiheit und Komfort zu gewährleisten.

Kann eine duschkabine 80×80 in ein kleines Badezimmer passen?

Ja, eine duschkabine 80×80 ist besonders für kleine Badezimmer geeignet, da sie Platz spart und dennoch eine angenehme Duschlösung bietet.

Welche Vorteile hat eine Duschkabine im Vergleich zur Badewanne?

Eine Duschkabine bietet weniger Platzbedarf, ist schneller zu nutzen, verbraucht weniger Wasser und lässt sich leichter reinigen im Vergleich zu einer Badewanne.

Wie kann ich die Duschkabine am besten reinigen?

Verwenden Sie milde Reinigungsmittel, weiche Schwämme und wischen Sie die Kabine nach der Benutzung trocken, um Kalk- und Seifenreste zu vermeiden.

Warum sollte ich in eine qualitativ hochwertige duschkabine investieren?

Qualitativ hochwertige Duschkabinen bieten eine längere Lebensdauer, bessere Abgedichtetheit, erhöhen den Komfort und werten das Gesamtbild Ihres Badezimmers auf.

Install an elegant 800 x 800 shower base in a modern, bright bathroom setting.

Transform Your Bathroom with the Perfect 800 x 800 Shower Base

Understanding the 800 x 800 Shower Base

Definition and Specifications

The 800 x 800 shower base is a popular size in the realm of bathroom fixtures, providing an ideal balance between functionality and space efficiency. Typically measured at 800 millimeters by 800 millimeters (about 31.5 inches by 31.5 inches), it offers ample room for a comfortable shower experience while fitting seamlessly into most bathroom layouts. These bases are often designed to accommodate standard shower enclosures and can easily support a variety of installation configurations, including wall-mounted or linear drain systems.

Advantages of Choosing an 800 x 800 Size

Choosing the right shower base is crucial for both aesthetic and practical reasons. The 800 x 800 size stands out due to several advantages:

  • Space Efficiency: Ideal for compact bathrooms, the 800 x 800 shower base fits comfortably in corners, maximizing the use of available space while not feeling overly cramped.
  • Versatile Design: Its square shape makes it easy to incorporate various design themes, from modern minimalism to traditional elegance.
  • Comfortable Access: The size provides enough room for individuals of all ages, facilitating ease of movement in and out of the shower.
  • Installation Flexibility: The base can adapt to various plumbing layouts, making it suitable for both new builds and renovations.

Common Materials Used

When choosing an 800 x 800 shower base, the material significantly influences its durability, maintenance, and overall appearance. Common materials include:

  • Acrylic: Lightweight and flexible, acrylic bases offer a slick surface that’s easy to clean and resistant to mildew.
  • Fiberglass: Similar to acrylic in weight, fiberglass is known for its durability and affordability, though it may require more maintenance to prevent scratching.
  • Stone Resin: This material mimics natural stone’s heft and feel and provides a luxurious presence while offering excellent durability.
  • Ceramic or Porcelain: Often chosen for their aesthetic appeal, these materials are resistant to scratches and stains, although heavier and usually more expensive.

Installing an 800 x 800 Shower Base

Preparation Steps Before Installation

Before embarking on the installation of your 800 x 800 shower base, several preparatory steps ensure a smooth process:

  1. Measure Your Space: Confirm that the space where the base will be installed is at least the dimensions of the base.
  2. Check Plumbing: Ensure all plumbing is appropriately located; if you’re making modifications, plan these changes before installation.
  3. Gather Materials: Aside from the shower base, collect any additional materials such as mortar, sealant, and leveling tools.

Tools Needed for Installation

Having the right tools at hand simplifies the installation of your 800 x 800 shower base. You’ll need:

  • Measuring tape
  • Level
  • Utility knife
  • Trowel for applying mortar
  • Screws and screwdrivers
  • Silicone sealant
  • Pliers or a wrench for plumbing connections

Step-by-Step Installation Guide

Here’s a simplified step-by-step approach to install your 800 x 800 shower base:

  1. Prepare the Area: Clear the installation site and check for a level surface.
  2. Install the Drain: Place the drain in the designated position according to manufacturer instructions.
  3. Apply Mortar: Using a trowel, spread mortar evenly across the substrate where the shower base will sit.
  4. Set the Base: Carefully place the 800 x 800 shower base on the mortar, ensuring it aligns with the drain and is level.
  5. Secure the Base: Use screws as necessary to secure the base to the floor, following the manufacturer’s guidelines.
  6. Seal Edges: Apply silicone sealant around the perimeter to prevent water seepage.
  7. Allow to Cure: Follow the curing time recommended by the mortar and sealant manufacturers before using the shower.

Design Ideas for Your 800 x 800 Shower Base Area

Complementing Tiles and Finishes

Choosing the right tiles and finishes can significantly enhance the appearance and feel of your bathroom. Popular combinations include:

  • Large-format tiles for a seamless look.
  • Textured finishes for slip resistance.
  • Complementary colors for cohesive design.

Lighting and Fixture Considerations

Effective lighting can elevate your shower area, emphasizing the 800 x 800 shower base’s featured designs. Consider:

  • Recessed lighting for a modern touch.
  • Wall sconces for ambient lighting.
  • Water-resistant fixtures that can withstand humidity.

Personalizing the Space

Your shower space should reflect your personal style. Incorporate unique design elements like:

  • Custom shelves or corner caddies for organization.
  • Artistic wall tiles or mosaics for character.
  • Plants or accessories that withstand humidity.

Maintaining Your 800 x 800 Shower Base

Daily Cleaning Tips

To keep your shower base looking new, implement these cleaning strategies:

  • Wipe down surfaces after each use to prevent buildup.
  • Use gentle, non-abrasive cleaners suitable for the shower’s material.
  • Maintain good ventilation to reduce mildew growth.

Dealing with Common Problems

Regular maintenance helps prevent issues, but it’s essential to know how to address common problems:

  • Cracks or Chips: Use epoxy or silicone filler to repair minor damages.
  • Leaks: Inspect silicone seals and drains for signs of wear; replace or reseal as needed.
  • Mold: Regularly treat and clean with mold-resistant solutions to keep your shower base pristine.

Best Practices for Longevity

Implementing best practices can significantly extend the life of your 800 x 800 shower base:

  • Regular deep cleaning every few weeks to remove build-up.
  • Avoid harsh chemicals that can damage the base.
  • Perform routine checks on drainage systems and seals.

FAQs About 800 x 800 Shower Bases

What are the best materials for an 800 x 800 shower base?

Acrylic, fiberglass, stone resin, and ceramic are the best options. Each material offers different aesthetics and durability.

How much does installation of an 800 x 800 shower base typically cost?

The installation cost can vary widely, usually ranging from several hundred to over a thousand dollars, depending on material and labor.

Can I install an 800 x 800 shower base myself?

DIY installation is possible if you have plumbing skills. However, hiring a professional ensures high-quality work and reduces risk.

How do I choose the right shower fixtures for my 800 x 800 shower base?

Consider your style preference, water efficiency ratings, and compatibility with the base’s drainage system when selecting fixtures.

Are there any custom options available for 800 x 800 shower bases?

Yes, many manufacturers offer custom designs, colors, and finishes, allowing for a personalized fit for your bathroom space.

Showcasing an elegant LED mirror in a modern bathroom for a sophisticated ambience.

Enhancing Your Space with an Elegant LED Mirror for Style and Functionality

Understanding the Benefits of an Elegant LED Mirror

The allure of an elegant led mirror extends beyond mere reflection; it epitomizes a blend of functionality and style that can elevate any bathroom or dressing area. These mirrors not only serve a utilitarian purpose but also enhance the aesthetic appeal of a space, making it feel more refined and welcoming.

How an Elegant LED Mirror Enhances Lighting

Good lighting is crucial for any personal grooming routine. An elegant LED mirror excels in providing optimal illumination that mimics natural daylight. This quality is particularly beneficial for activities like applying makeup, shaving, or hairstyling. By eliminating hard shadows and providing consistent, even lighting, an LED mirror allows users to achieve their desired looks more accurately.

Combining Functionality and Aesthetics

When looking for a mirror, the balance between functionality and aesthetics is vital. An elegant LED mirror is designed not just to look good, but also to maximize usability. Many models come with built-in touch sensors or remote controls for ease of use. Moreover, their sleek design complements a wide range of interior styles—from modern minimalist to classic elegance—allowing them to function as statement pieces in any room.

Choosing the Right Size for Your Space

Size matters, especially when placing an elegant LED mirror in your home. A mirror that’s too large can overwhelm a small space, while a small mirror can feel lost in a larger room. Consider the dimensions of your wall space and the scale of existing furniture. Additionally, a well-placed mirror can create the illusion of space, making a room feel larger and more open.

Types of Elegant LED Mirrors Available

Framed vs. Frameless Elegant LED Mirrors

The choice between framed and frameless elegant LED mirrors can significantly influence the overall style of your space. Framed mirrors offer a traditional and finished look, often available in various materials such as wood or metal, which can enhance the character of a room. On the other hand, frameless mirrors provide a more contemporary, sleek appearance, making them suitable for minimalistic designs.

Smart Features in Elegant LED Mirrors

The advancement in technology means that modern elegant LED mirrors often come with smart features such as Bluetooth connectivity or integrated speakers that allow you to enjoy music or podcasts while grooming. Additionally, some models include adjustable brightness and color temperature settings, enabling users to customize their lighting according to their needs or preferences.

Wall-Mounted vs. Standing Elegant LED Mirrors

Your choice of wall-mounted or standing elegant LED mirror should take into consideration your space constraints and stylistic preferences. Wall-mounted mirrors save floor space and can be strategically placed to enhance lighting or provide a focal point. Conversely, standing mirrors offer versatility in placement and can be relocated as needed, making them ideal for adaptable living environments.

Installation Tips for Your Elegant LED Mirror

Tools You Need for Installation

Installing an elegant LED mirror requires a few basic tools, including a level, a drill, a screwdriver, and wall anchors if you’re attaching the mirror to drywall. Having these tools on hand will facilitate a smoother installation process, ensuring your mirror is secure and aligned properly.

Step-by-Step Guide to Installing Your Elegant LED Mirror

  1. Select a Location: Choose where you want to mount the mirror, considering both functionality and aesthetic placement.
  2. Check for Studs: Use a stud finder to locate a wall stud if installing a heavier mirror.
  3. Mark the Position: Hold the mirror in place (using a second person if necessary) and mark where it will be installed.
  4. Drill Holes: Based on your mirror’s hanging mechanism, drill holes and insert wall anchors if required.
  5. Hang the Mirror: Carefully lift the mirror and secure it to the wall using screws or brackets.
  6. Check Alignment: Use a level to ensure your mirror is properly aligned.

Common Mistakes to Avoid During Installation

One common mistake is overlooking the weight of the mirror, which can lead to insufficient support. Ensure that you use the appropriate hardware based on the mirror’s weight. Additionally, not measuring twice can lead to improper placement, so take your time to ensure accurate positioning. Lastly, neglecting to check the wiring (for mirrors with integrated lighting) can result in unsafe installations.

Styling with an Elegant LED Mirror

Incorporating Elegant LED Mirrors into Different Decor Styles

When it comes to styling, an elegant LED mirror can seamlessly fit into various decor styles. For a modern aesthetic, opt for a sleek, frameless design that enhances linear forms. In contrast, traditional spaces can benefit from ornate framed mirrors that add character and warmth. Additionally, eclectic styles can play off different textures and finishes, creating a unique focal point that showcases individuality.

Using Elegant LED Mirrors to Create Depth in a Room

Mirrors can amplify the perception of space within a room. Placing an elegant LED mirror opposite windows or light sources can enhance the natural light, making the area appear larger and brighter. Furthermore, using multiple mirrors strategically placed throughout the space can add dimensionality, drawing the eye into different areas of the room and creating a visually interesting flow.

Accessorizing Around Your Elegant LED Mirror

Accessorizing around an elegant LED mirror is a creative opportunity to express your personal style. Consider arranging decorative elements like candles, framed photos, or even plants that complement the mirror without overwhelming it. The key is to create a balanced look that draws the eye towards the mirror as the centerpiece while maintaining a harmonious overall aesthetic.

Maintenance and Care for Your Elegant LED Mirror

Best Cleaning Practices for Elegant LED Mirrors

To maintain the clarity and brilliance of your elegant LED mirror, regular cleaning is essential. Avoid harsh chemicals; instead, use a mild glass cleaner and a microfiber cloth to gently wipe the surface. For frames, depending on the material, a damp cloth may suffice. Always ensure the mirror is powered off during cleaning to avoid any electrical issues with the LED features.

Preventing Damage to Your Mirror’s LED Features

While LED lights are long-lasting, they can also be sensitive. To prolong their lifespan, avoid using abrasive materials during cleaning and refrain from exposing the mirror to extreme temperatures or humidity, which could damage both the mirror and its lighting components.

When to Seek Professional Help for Your Elegant LED Mirror

If you encounter any electrical issues, such as flickering lights or complete electrical failure in your LED mirror, it’s important to seek professional assistance. Additionally, if the mirror becomes loose from the wall or damaged, enlisting the help of an expert will ensure that it remains securely mounted and safe to use.

Frequently Asked Questions

What are the benefits of an elegant LED mirror?

An elegant LED mirror enhances lighting for grooming tasks, adds aesthetic appeal, and can incorporate smart features for convenience.

How do I choose the right elegant LED mirror size?

Select a size that complements your space without overwhelming it. Consider wall space and existing furniture for the best fit.

Are framed or frameless mirrors better?

It depends on your decor style. Framed mirrors provide a classic look, while frameless mirrors offer a sleek, modern aesthetic.

How do I clean my elegant LED mirror?

Use a mild glass cleaner and a microfiber cloth to gently clean the surface, and avoid harsh chemicals or abrasive materials.

When should I consider professional installation?

If you’re unsure about electrical connections or structural support, it’s best to hire a professional for safe installation.

Properly displaying kitchen loofah with vibrant herbs on a rustic countertop.

Elevate Your Cleaning Routine with Kitchen Loofah: Benefits and Uses

The Versatility of Kitchen Loofah

What is Kitchen Loofah?

Kitchen loofah, derived from the fibrous interior of the loofah gourd, is a natural sponge that has gained popularity for cleaning and scrubbing purposes in the home. Unlike synthetic sponges, kitchen loofah offers a biodegradable, eco-friendly alternative that effectively tackles dirt without harming the environment. Its unique structure makes it perfect for a variety of cleaning tasks, from dishwashing to vegetable exfoliation.

Common Uses in the Kitchen

Kitchen loofahs are incredibly versatile tools in any household and can be used in many ways:

  • Dishwashing: The natural abrasiveness of a kitchen loofah makes it excellent for scrubbing pots, pans, and dishes without scratching surfaces. It effectively removes food residue and grease.
  • Scrubbing Surfaces: Use the kitchen loofah on countertops and cutting boards to cleanse without harsh chemicals. It helps maintain hygiene in preparation areas.
  • Exfoliating Fruits and Vegetables: The loofah’s texture can gently exfoliate the skin of fruits and vegetables, ensuring a clean and polished look before serving or cooking.
  • Wiping Down Appliances: It’s gentle enough for cleaning kitchen appliances like microwaves and ovens while providing a deep clean.

Benefits for Eco-Friendly Living

Choosing a kitchen loofah not only supports a sustainable lifestyle but also carries several benefits:

  • Biodegradability: Once it has reached the end of its life cycle, a kitchen loofah can decompose naturally, contributing less to landfill waste compared to plastic scrubs.
  • Sustainable Production: Loofah gourds are a renewable resource. They grow quickly and require little environmental intervention to produce.
  • No Chemicals: Unlike synthetic sponges, kitchen loofahs do not contribute toxins to the environment when disposed of. They are safe for household use and do not leach harmful substances.

How to Choose the Right Kitchen Loofah

Types of Kitchen Loofahs Available

When selecting a kitchen loofah, it’s essential to understand the different types available:

  • Natural Loofahs: These are the standard kitchen loofahs that are unprocessed and offer the most natural cleaning experience. They are often sold in varying degrees of coarseness.
  • Compressed Loofahs: These are smaller and denser loofahs that expand when wet. They typically offer a softer texture and are easier to store.
  • Blended Loofahs: Some brands combine loofah with other natural materials, such as coconut fibers, to enhance scrubbing power while maintaining eco-friendliness.

Factors to Consider When Purchasing

Here are some considerations to make when purchasing a kitchen loofah:

  • Coarseness: Depending on your cleaning needs, choose a loofah with the right texture. Coarser loofahs are better for tough scrubbing, while softer ones work for delicate items.
  • Size: Consider the size of the loofah based on your storage space and cleaning needs. A larger loofah may be good for extensive cleaning tasks, while smaller ones are ideal for delicate jobs.
  • Quality: Opt for well-made loofahs without artificial dyes or additives. Quality loofahs will last longer and perform better.

Where to Buy Quality Kitchen Loofahs

Quality kitchen loofahs can be sourced from various places:

  • Health Food Stores: Local health food stores often carry natural cleaning products, including loofahs.
  • Online Retailers: E-commerce platforms allow you to compare brands and read reviews before making a purchase.
  • Farmers’ Markets: Some local vendors may offer organically grown loofahs, ensuring minimal processing and maximal benefit.

Care and Maintenance of Kitchen Loofah

Cleaning Your Kitchen Loofah

To maintain hygiene and prolong the life of a kitchen loofah, regular cleaning is essential:

  • Boiling: Boil the loofah in water for 10-15 minutes to kill bacteria. Make sure to let it dry thoroughly afterward.
  • Dishwasher Safe: Some loofahs can be placed on the top rack of the dishwasher for cleaning.
  • Regular Rinsing: After each use, rinse the kitchen loofah thoroughly with hot water to remove any food particles.

How to Prolong Its Lifespan

Extend the lifespan of your kitchen loofah with these handy tips:

  • Drying: Ensure the loofah is completely dry after each use to prevent mold and bacteria growth.
  • Store in a Well-Ventilated Area: Keep your loofah in a place where it can air out and dry quickly.
  • Rotate Usage: If you have multiple loofahs, rotate them to lessen wear and tear.

Signs You Need to Replace Your Loofah

Recognizing when to replace your kitchen loofah is vital for maintaining hygiene:

  • Foul Odor: If you notice any unpleasant smells that don’t disappear after cleaning, it is time for a replacement.
  • Discoloration or Wear: Signs of visible wear, such as fraying or discoloration, indicate that the loofah is nearing the end of its lifespan.
  • Bacterial Growth: If you observe mold or bacterial growth that cleaning cannot resolve, replacing it is necessary.

Innovative Ways to Use Kitchen Loofah

Beyond Cleaning: Creative Applications

There are numerous innovative ways to utilize a kitchen loofah beyond traditional cleaning:

  • Scented Potpourri: Dried kitchen loofahs can be used as a base for potpourri, absorbing essential oils and providing a natural fragrance.
  • Crafts and DIY Projects: They can be transformed into creative ornamental decorations, bath accessories, or even incorporated into art projects.

DIY Kitchen Hacks with Loofah

Getting creative with your kitchen loofah can lead to remarkable hacks:

  • Loofah Coasters: Cut a loofah into slices to create unique and effective coasters that absorb moisture.
  • Natural Face Scrub: Use pieces of kitchen loofah for a gentle face scrub; it can help exfoliate dead skin.
  • Farewell to Stinky Sponges: Cut and reshape loofah as a replacement for stubborn sponges around the house.

Complementary Natural Products Pairings

To enhance cleaning, consider pairing your kitchen loofah with these natural products:

  • Baking Soda: Use together for tough stains. Create a paste and scrub with the loofah.
  • Vinegar: This natural disinfectant can be sprayed on surfaces where the loofah is applied after dishwashing.
  • Essential Oils: Combine with a few drops of essential oils such as tea tree or lavender for added antibacterial properties.

Frequently Asked Questions About Kitchen Loofah

What can I use a kitchen loofah for?

A kitchen loofah is perfect for washing dishes, scrubbing surfaces, and even exfoliating fruits and vegetables.

How do I clean my kitchen loofah?

You can clean your kitchen loofah by boiling it in water and letting it dry completely to remove bacteria.

How often should I replace my kitchen loofah?

Replace your kitchen loofah every month or sooner if you notice any visible signs of wear or odor.

Are kitchen loofahs eco-friendly?

Yes, kitchen loofahs are biodegradable and serve as a sustainable alternative to synthetic sponges.

Can I use a kitchen loofah on delicate surfaces?

While kitchen loofahs are generally safe, it’s wise to test them on a small area to ensure they won’t scratch.